
If there comes a need to change one’s account name, then this article serves you right! In this guide, we will show you two different ways to perform this operation on your windows 10 OS. There could arise a need of multiple reasons behind one desiring to change his or her account name. For instance, revealing one’s name publicly may serve as a strain of privacy issues or perhaps a change of one’s identity of name can result to this effect. Depending on whatever maybe the reason, carrying out this change is however straight forward and trouble- free for windows 10 OS users.
Step 1
Steps to Change Account Name Linked to a Microsoft Account in Windows 10
In this guide, we will walk you through to change account name that shows up in the sign-in screen for accounts linked to a Microsoft account.
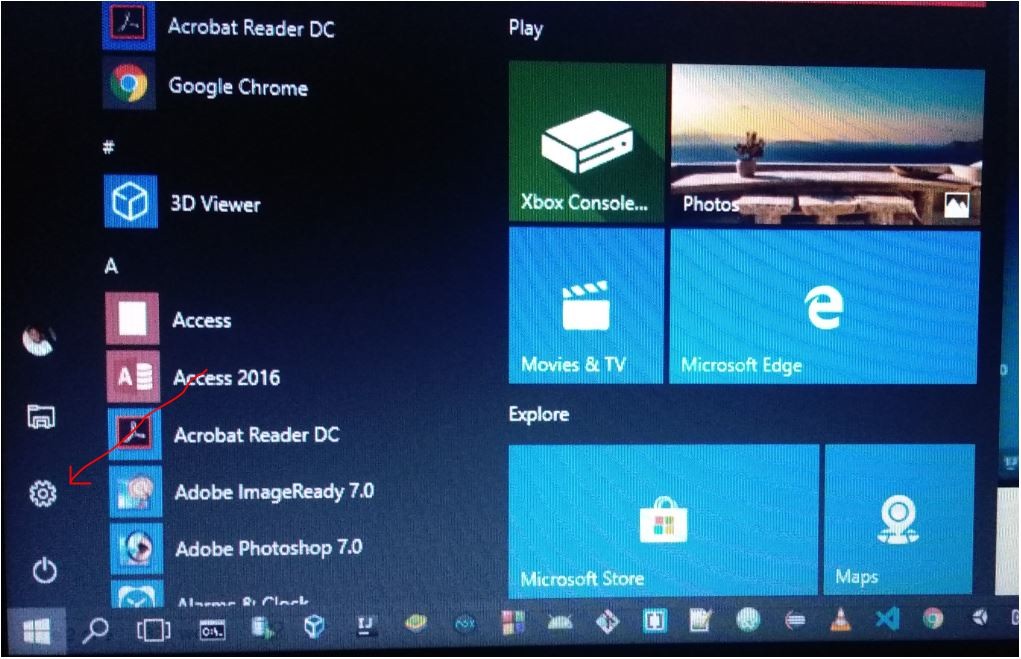
1. Click on the Windows icon located in the bottom-left corner of your desktop screen. Select the gear icon to open the Windows settings.
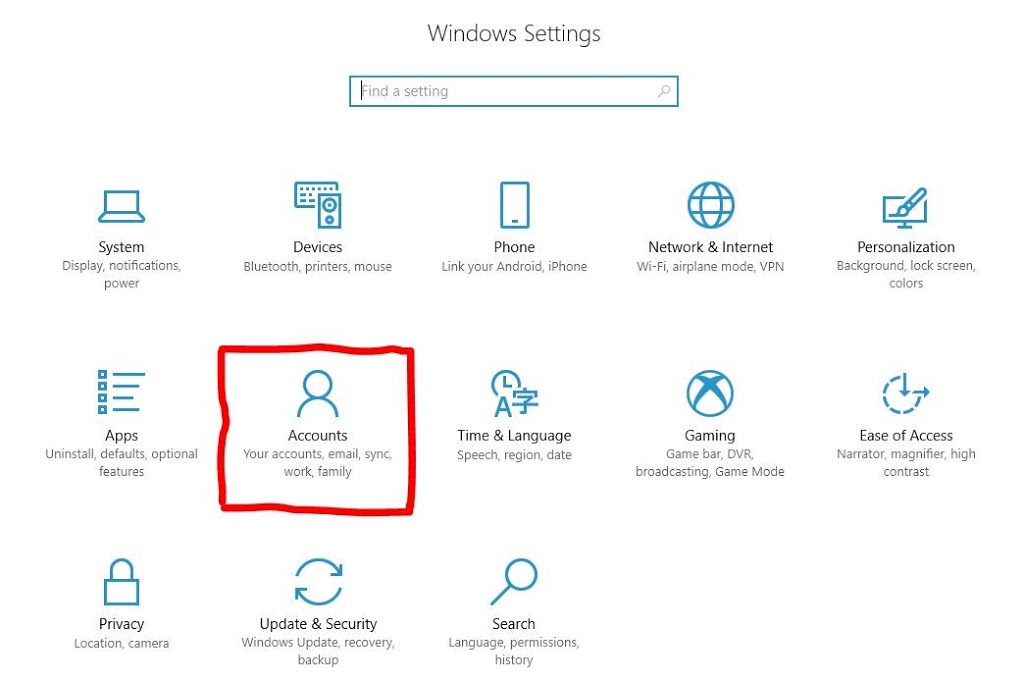
2. Then Select Accounts (Your accounts, email, sync, work, family).
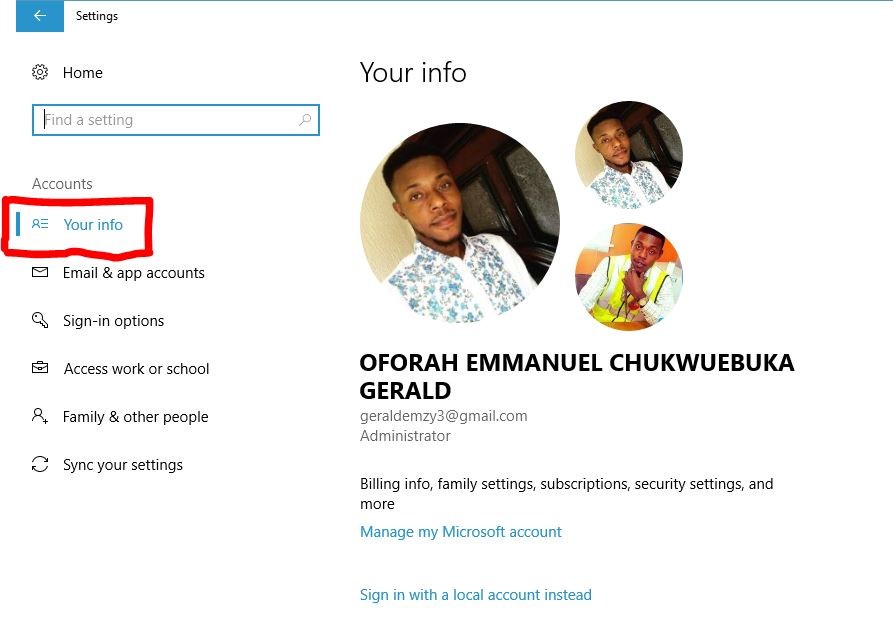
3. On the Accounts dialogue box, search and click on Your info.
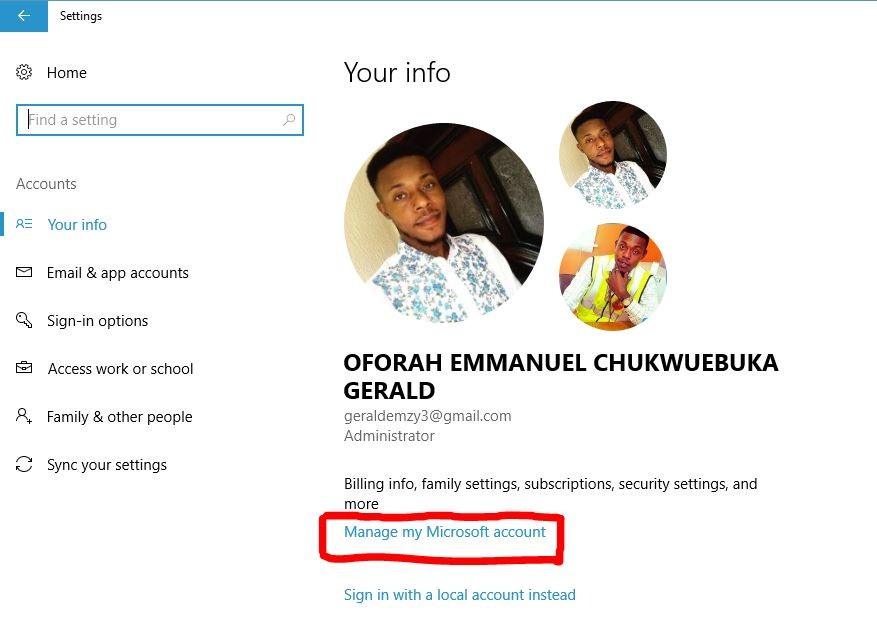
4. Search and click on Manage my Microsoft account option.
5. On the Microsoft home page, search and click on Sign in to gain access to your account.

6. You can sign in with your username (e.g. email address) and then input your password to gain access to your account.
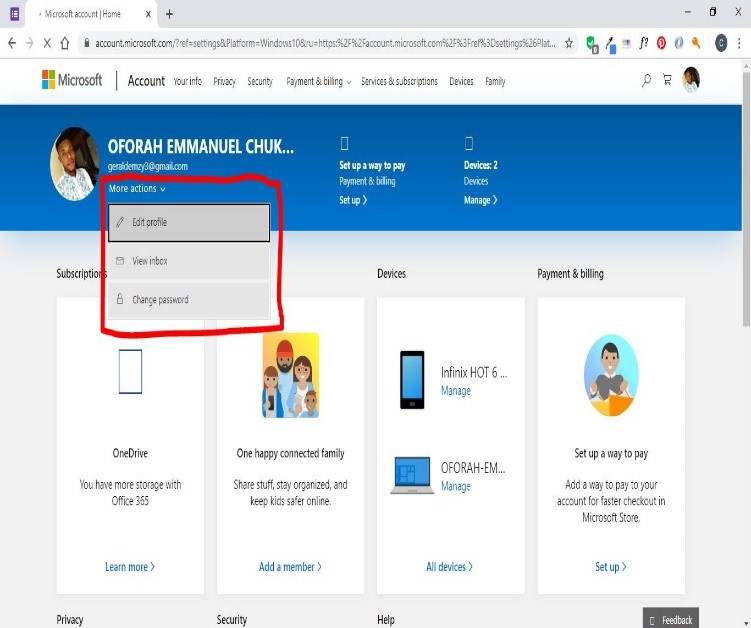
7. Navigate to More actions and click on Edit profile.
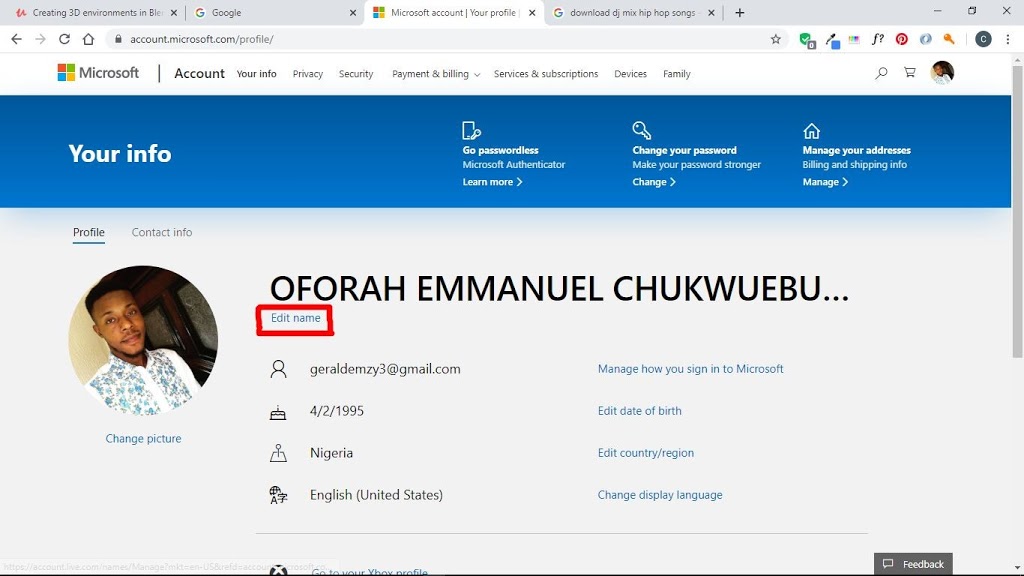
8. Click on Edit name.
9. Enter your preferred First name and Last name.
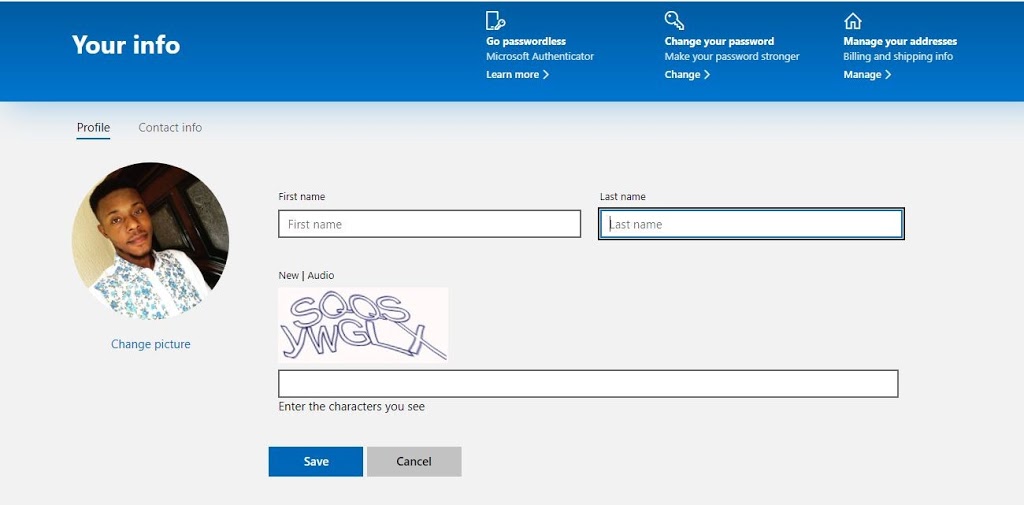
10. Then click on save.
With this step mentioned above…..your preferred name will be set as your account name, which will be appeared on the sign in screen.
Step 2
Changing of one’s account name can also be done if the local account of your PC is not connected to a Microsoft account. In other words, the step below will show vividly how this could also be done.
In this guide, we will walk you through to change account name that shows up in the sign-in screen for accounts not linked to a Microsoft account.
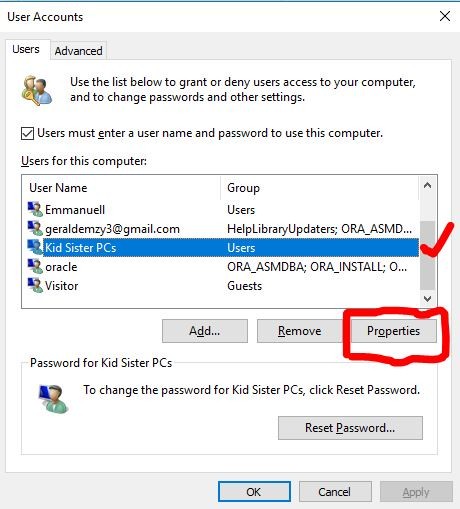
1. Open start, Search for netplwiz and click the top result to open the tool.

2. Select the account to update its name and Click the properties button below.
3. Update the username field to change the account name, Update the full name to show a different name in the sign in screen, Click the apply button and Then ok.
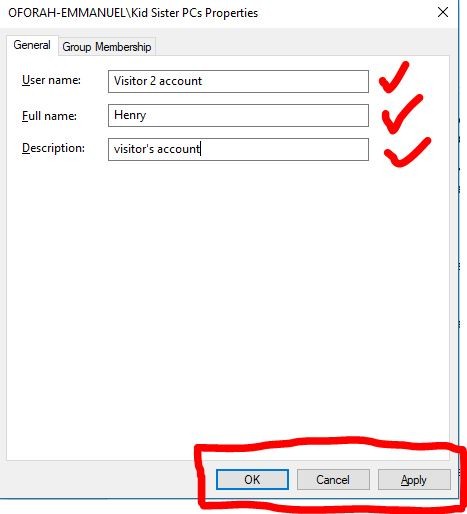
4. And then ok again.

With this step mentioned above…..your preferred name will be set as your account name, which will be appeared on the sign in screen.
Stream
Incredible
SAS, it’s nice seeing you around
District
revolutionize
Yes engineer, nice seeing you around
Vermont
Thanks for visiting my site, looking forward to see you again
Home Loan Account
Moldovan, thanks for dropping by, hope you got your solution?
Pines
EXE
payment
Keyboard
calculate
virtual
protocol
Savings Account